In a nutshell
- 🔬 The physics: the criss-cross X-lock creates opposing tension for a compact, stable hold; place pins at a 30–45° angle with the ridged side down and keep the cross flat to the head.
- 🧭 Technique: prep with dry shampoo or texturising spray, insert the first pin forward/upward with minimal opening, then nest the second across to lock; finish with light, brushable hairspray.
- 🎭 Invisibility: slide pins beneath a top veil of hair, colour-match to roots, and choose matte coatings to avoid shine; re-angle if any bump “tents” the surface.
- 🧷 Tools and prep: prioritise quality steel, tight springs, smooth tips, and hair-type-appropriate sizes; pair with root powder or sea salt mist and avoid soaking with wet spray before pinning.
- 🌦️ All-day insurance: mist a humidity-resistant spray, add a hidden micro X for redundancy, carry spare pins for quick reinforcement, and remove by reversing the second pin’s path to prevent damage.
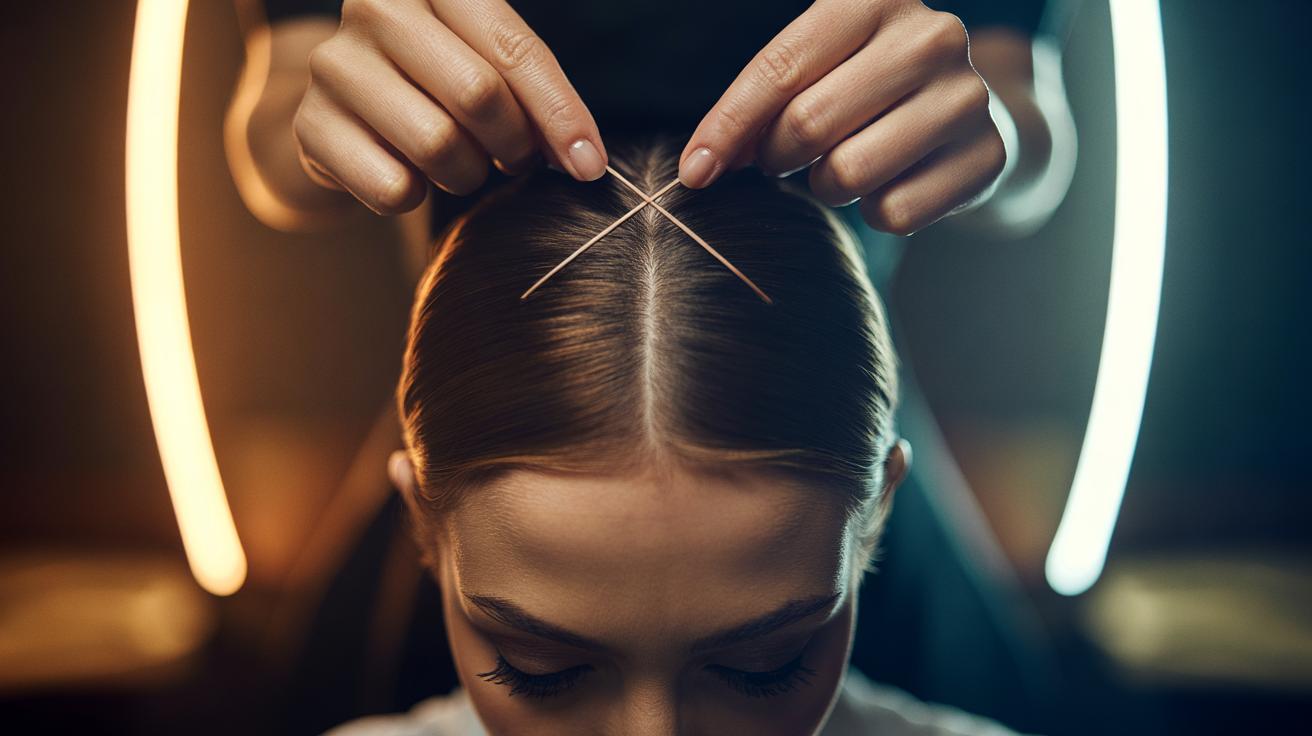
Across catwalks, film sets, and bustling Tube platforms, one small technique beats the elements and the clock: the bobby pin criss-cross. By forming a compact “X”, this trick hides hardware, locks hairstyles all day, and survives wind, drizzle, and dance-floor spins. Stylists swear by its combination of grip and discretion, and its elegance lies in science, not sorcery. Place the right pins, at the right angle, on the right foundation, and your bun, fringe tuck, or sculpted wave will look effortless. Here’s how the method works, why it’s invisible, and the simple choices—pin type, finish, and prep—that make the difference between a fragile style and a fortress.
Why the Criss-Cross Works
The criss-cross creates opposing tension: one pin anchors the section to the scalp, the second crosses it to generate a counterforce, forming an X-lock. This opposing vector holds hair strands under compression while the scalp provides friction. Place the first pin with the ridged side down to bite into the hair; the smooth side sits on top to reduce snagging. A shallow angle—around 30–45 degrees—maximises contact without lifting the top layer. Think of it as a miniature bridge truss: compact, stable, and strong under load.
Invisibility comes from how the pins sit—not just where. Slide the first pin beneath the top veil of hair, then cross the second so the “X” hides under that veil. Colour-match to roots, not lengths, for better camouflage. Matte coatings reflect less light than glossy finishes, disappearing under flash or daylight. Keep the X flat to the head, never tented; if you feel a bump, re-angle the first pin closer to the scalp and shorten the hair section you’re anchoring.
Step-by-Step: Mastering the Invisible Hold
Prep equals power. Start with a whisper of dry shampoo or texturising spray at the roots to create grip. Comb the top layer smooth, then pinch the section you want to secure. Insert the first bobby pin forward and slightly upward, ridged side down, aiming toward the centre of the head. Do not pry the pin wide; minimal opening preserves spring tension. If you’re tucking a fringe, angle the pin parallel to the hairline so the cap sits under the surface, not on it.
Slide the second pin across the first to form an X, feeding its tip under the first pin’s bridge for a nested lock. Add a micro-pin diagonally through the intersection for dance-proof hold, or leave it for a lighter finish. Mist a light, brushable hairspray over the area and press with your fingertips to set the shape. Small angle, big hold: if the X looks wide, reduce the angle; if it slides, increase the amount of hair in the first pin or switch to a matte finish.
Choosing the Right Pins and Prep
Tools matter as much as technique. The wrong pin will skate on silky strands or snag in coils. Prioritise quality steel, a tight spring, and smooth, closed tips. Match coating and size to your hair type and the job: a hidden fringe tuck needs slim, matte pins; a bun base prefers sturdy standard pins or discreet U-pins hidden under the top veil. Below is a quick guide to selecting the most effective hardware for the criss-cross.
| Hair Type | Best Pin | Finish | Why It Works |
|---|---|---|---|
| Fine/straight | Slim bobby pin | Matte, root-matched | Less bulk, higher friction, vanishes at the scalp |
| Medium/wavy | Standard bobby pin | Satin or matte | Balanced tension for everyday X-locks |
| Thick/curly | Sturdy bobby or short U-pin | Textured matte | Extra bite without snag; supports volume |
| Coily/kinky | Wide bobby or U-pin | Powder-matte | Glides in, holds without tearing strands |
| Silky/processed | Slim bobby with strong spring | Rubberised/matte | Prevents slip on smooth cuticles |
Pair pins with smart prep: a light root powder or sea salt mist creates micro-grip; a touch of pomade on fingertips tames flyaways before you set the X. Avoid saturating the area with wet hairspray before pinning—it smooths the cuticle and encourages slide. Instead, pin first, then mist and press to seal the silhouette.
All-Day Insurance: Humidity, Movement, and Touch-Ups
Britain’s air can be damp by breakfast and gusty by lunch. Shield your style with a humidity-resistant spray over the finished X and the outer veil only. For commuting or workouts, build a foundation: make the first X at the scalp, then hide a second micro X just above it for redundancy. Two small anchors beat one big, bulky cross. If your hair is very slippery, dust a fingertip of styling powder onto the section before pinning; it creates invisible grit without dulling the finish.
Movement demands maintenance strategy. Keep two spare, colour-matched pins and a travel-size dry shampoo in your bag. If an edge lifts, press, re-mist lightly, and slide a fresh pin through the existing X for a quick reinforcement. At day’s end, remove the cross as a unit by reversing the second pin’s path to avoid breakage. Respect the spring—forced removal bends pins and weakens future holds. Done right, the criss-cross remains comfortable, concealed, and camera-ready until lights-out.
The bobby pin criss-cross is a small motion with big consequences: cleaner lines, steadier silhouettes, and hair that behaves from coffee to curtain call. Its success blends physics, good tools, and smart prep, all in seconds. Choose matte, match roots, keep angles shallow, and let the X do the heavy lifting. Once you’ve mastered the feel, you’ll secure buns, half-ups, and tucked fringes without flashing metal. What style will you test first—and which twist on the technique might become your personal signature?
Did you like it?4.5/5 (22)