In a nutshell
- 🍌 The inner side of a banana peel leaves a lightweight film of sugars, waxes, and pectins that smooths the cuticle, taming frizz without heat; effects are temporary and rinse out.
- 🧭 Step-by-step method: on clean, damp hair, glide the peel from mid-lengths to ends, avoid the scalp, leave 10–15 minutes, then rinse and cool-dry; patch-test and beware of latex–fruit allergy.
- 🎯 What to expect: best for fine–medium, wavy/straight hair seeking a sleeker silhouette; curls gain softness and slight elongation, but not salon-straight; won’t repair damage or replace heat protection.
- 🧪 Evidence and limits: results are mainly anecdotal, though consistent with film-forming polysaccharides; performance varies by porosity, humidity, and overall hair health.
- 🔁 Alternatives compared: aloe gel, diluted ACV rinse, flaxseed gel, and light leave-ins each offer distinct pros/cons; the peel wins on cost and spontaneity—your climate and porosity should guide the choice.
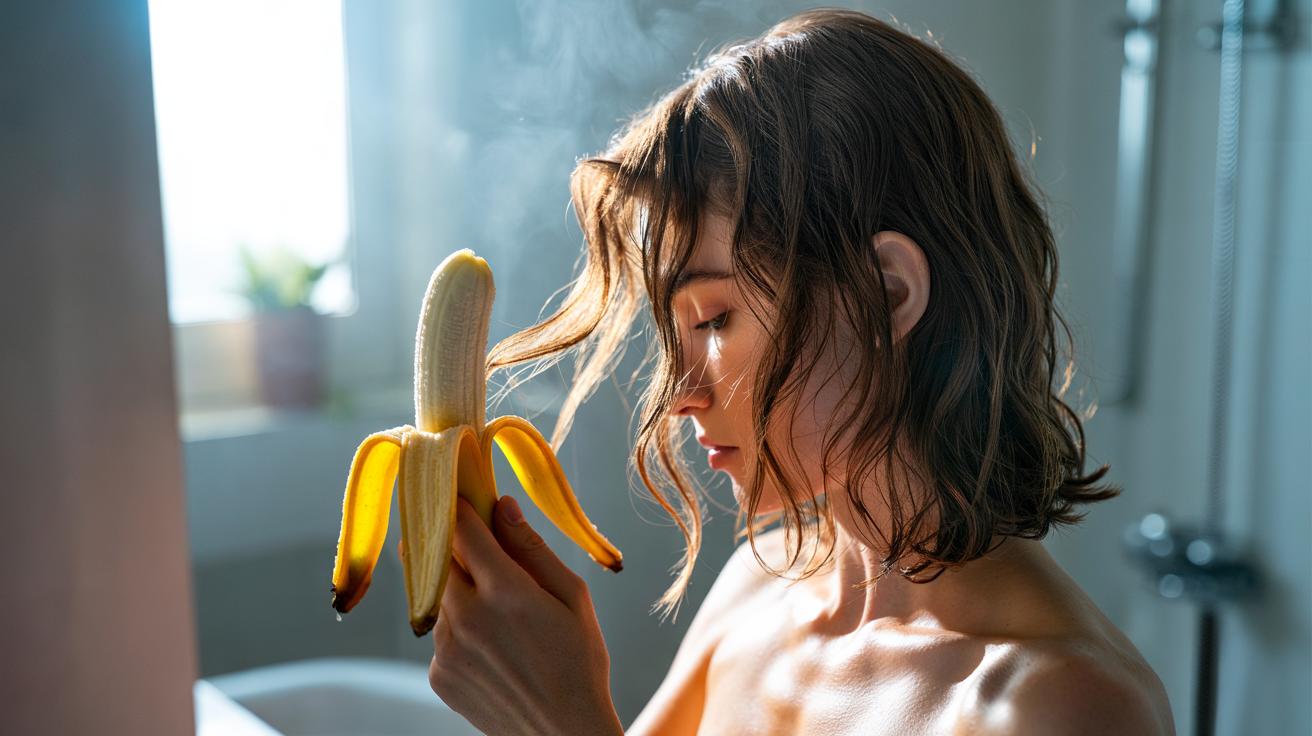
Frizz is the great leveller: a damp morning in Manchester can topple the glossiest blow-dry. Amid the search for kinder, low-energy fixes, a quietly viral trick has emerged — rubbing the inner side of a banana peel along the lengths of your hair. Fans say it encourages strands to lie flatter, softens ends and adds slip, without reaching for straightening irons. Skeptics counter that it sounds like a recipe for stickiness. Here, I test the claims against what we know about hair fibre and film-forming ingredients, set out a careful method, and weigh it against other heat-free solutions. The aim isn’t perfection, but a calmer halo and a touch of polish.
Why Banana Peel Might Tame Frizz
Banana peel contains natural waxes, sugars and pectins that can behave like lightweight, water-compatible films. When smoothed down the hair shaft, these compounds help the cuticle lie flatter, reducing light-scattering fuzz. There’s also mild acidity, which may nudge the surface towards a tighter state, and trace lipids that lend glide. Think of it as a temporary, rinseable coating rather than a chemical straightener. The effect is closer to a frizz-calming glaze than to pin-straight styles, and it depends on hair type, porosity and how evenly you apply it.
It’s worth stating the limits. Evidence is largely anecdotal, not peer-reviewed. Still, the mechanism aligns with how professional serums and some plant gels work: film-forming polysaccharides reduce friction between fibres, making them easier to align as they dry. If your frizz is mostly due to raised cuticles and humidity, the peel’s occlusive elements may help. If it’s caused by severe structural damage, expect shine more than straightness. Results are transient and wash out with your next shampoo.
Step-by-Step: The Inner-Side Rub Method
Choose a ripe, unbruised banana with a bright yellow peel. Wash the outside to remove handling residues, then open and reserve the fruit for later. Working on clean, damp, detangled hair, run the inner side of the peel from mid-lengths to ends in gentle, downward strokes. Coat small sections evenly; avoid the scalp to reduce residue. Patch-test on one lock first to check for feel and finish. Leave the film on for 10–15 minutes, then rinse with lukewarm water and lightly condition the ends if needed.
Squeeze out water with a microfibre towel and comb with a wide-tooth tool while hair is still aligned. Air-dry or use a cool setting. Frequency: once or twice weekly is sufficient. If hair feels tacky, you’ve over-applied — a thinner sweep works better than a smear. Hygiene matters: discard the peel immediately and clean your shower area to avoid slips. Do not use if you have a known latex-fruit allergy, which can cross-react with banana.
What to Expect and Who It Suits
Fine to medium, wavy or straight hair often sees the clearest smoothing, because the peel’s film helps strands sit parallel, trimming back flyaways. High-porosity lengths may appreciate the temporary sealing, which can enhance shine and reduce snags. Coily and tightly curled patterns won’t become straight, but may gain softness and a touch of elongation. Think “sleeker silhouette”, not “salon-straight”. Colour-treated hair is generally compatible, though always test a discreet section if your routine includes strong bond-builders or protein treatments.
Set realistic metrics: look for fewer halo hairs, easier detangling, and better next-day manageability. If your frizz stems from humidity and friction, results can be pleasantly visible; if it’s due to split ends or heat trauma, the peel won’t mend damage. Keep the film off the scalp if you’re prone to buildup or flaking; sugars can feed yeast in susceptible individuals. No home remedy replaces heat-protectant discipline — it complements it. Use the peel as a pre-dry polish, not a cure-all.
Comparing Banana Peel to Other Heat-Free Smoothers
The banana-peel rub sits in a pragmatic middle ground: quicker than making a DIY gel, gentler than acidic rinses, and essentially cost-free. It provides a subtle occlusive-and-glide finish that supports alignment during drying. For some, aloe gel or a flaxseed brew offers stronger hold; for others, a light leave-in wins on consistency and cleanliness. The table below sets the peel against familiar options so you can match your goals to your routine and hair type.
| Method | Main Action | Best For | Downsides |
|---|---|---|---|
| Banana peel (inner-side rub) | Film-forming sugars/waxes smooth cuticle | Fine–medium, wavy/straight, quick polish | Residue risk if overused; perishable |
| Aloe vera gel (light) | Humectant slip with gentle hold | Defined waves, frizz control in mild humidity | Can feel crispy if overapplied |
| Diluted apple cider vinegar rinse | Mild acid helps tighten cuticle | Dull or hard-water hair seeking shine | Overuse can be drying |
| Flaxseed gel | Stronger plant polymer hold | Curly/coily definition with frizz reduction | Prep time; refrigeration |
| Light leave-in conditioner/serum | Silicones or esters enhance slip | Fast, consistent smoothing | Build-up if not clarified periodically |
Pick the smallest effective layer regardless of method, then lock it in with a cool final rinse and minimal touching while drying. Cost, convenience and your tolerance for DIY all play a role. The peel wins on spontaneity — a decent quick fix after a supermarket run — while a bottle on the shelf wins on repeatability. Your climate and porosity decide the champion.
Banana peel isn’t a miracle; it’s a clever nudge that helps hair behave with less heat and fewer synthetics. The science is simple: a smooth, light film and aligned drying reduce the visual chaos we call frizz, while leaving hair’s natural movement intact. Used thoughtfully, it can slot into a low-effort, low-waste routine. If you give it a go, track how much you apply, your drying method and the weather, then tweak. What other zero-cost, kitchen-cupboard tricks have earned a permanent place in your hair toolkit, and why?
Did you like it?4.6/5 (22)